BUSINESS CHALLENGE
In an Account object, the Contacts appear in the related list – which is in a separate tab. It will be a better user experience if the Primary contact appears on the Account Details page.
REQUIREMENT
We are mentioning here the two possible requirements to achieve this.
- Manually assign the primary contact in the Account object Detail section. In this scenario, the Contact object does not have any knowledge of Primary Contact.
- When creating a contact, set that Contact as Primary contact using a new checkbox field “Primary Contact” – which should then populate this contact on the Account object to display in the Detail section.
-
- Create a Checkbox field with the name “Primary Contact” on the Contact object. Create a Text field in the Account object to display the primary contact.
- If there are no other primary contacts, set this contact as Primary contact and show it in the Details page of the Account.
- If there are any other contacts already set as Primary contact, this contact should override the previous Primary Contact and notification should be sent to the old and new primary Contact owners that there is already a Primary contact and is overridden.
STEPS TO ACHIEVE THE FIRST REQUIREMENT
Through the Lookup field we can make the Name of the Primary contact to be set/displayed on the Account Object.
-
Create a Lookup field on account:
-
- Go to setup click object manager and select account
- Click on Fields & Relationships click New.
- Select Datatype as a Lookup Relationship
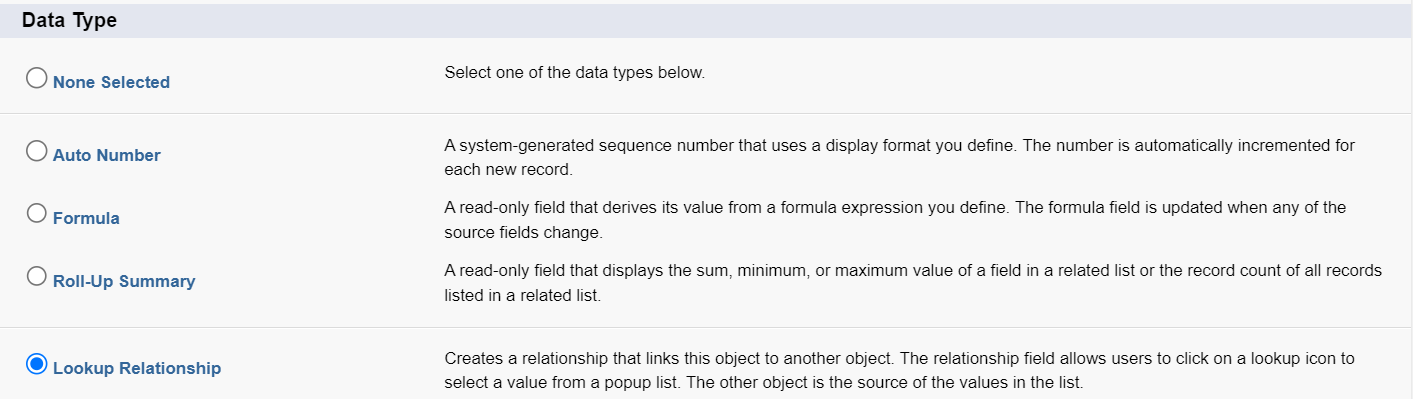
- Click Next
- Choose Contact as Related Object
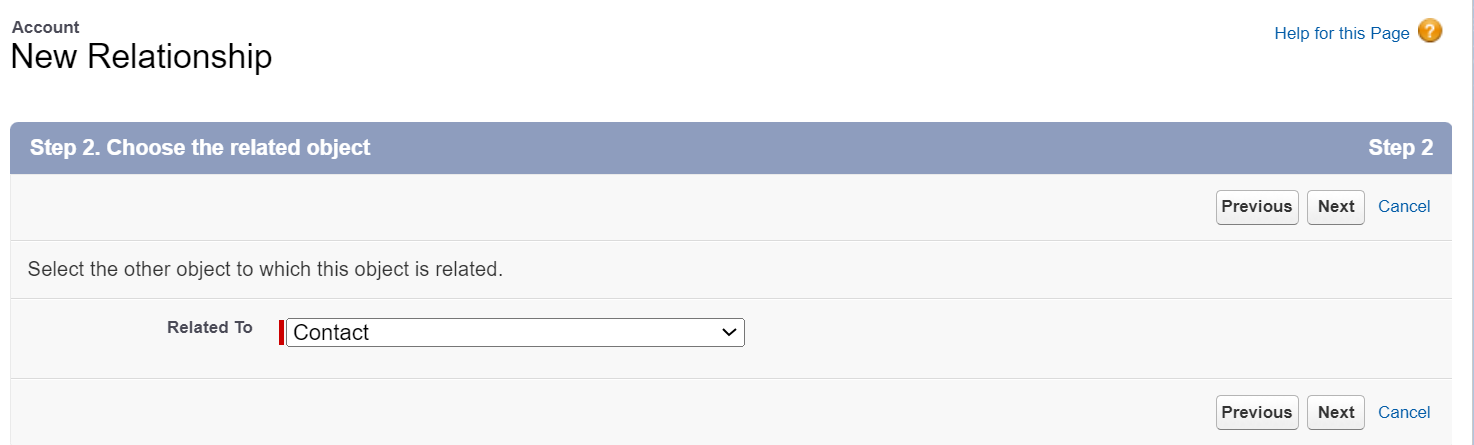
- Click Next
- Enter “Primary Contact” as Field Label.
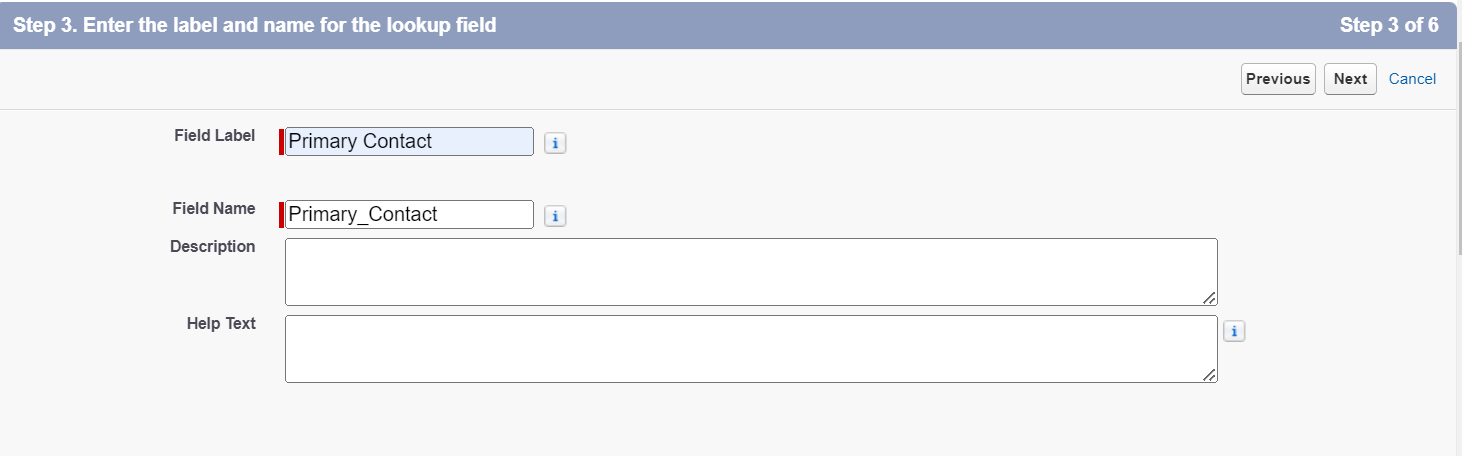
- Click Next, Next, Next and then Save.
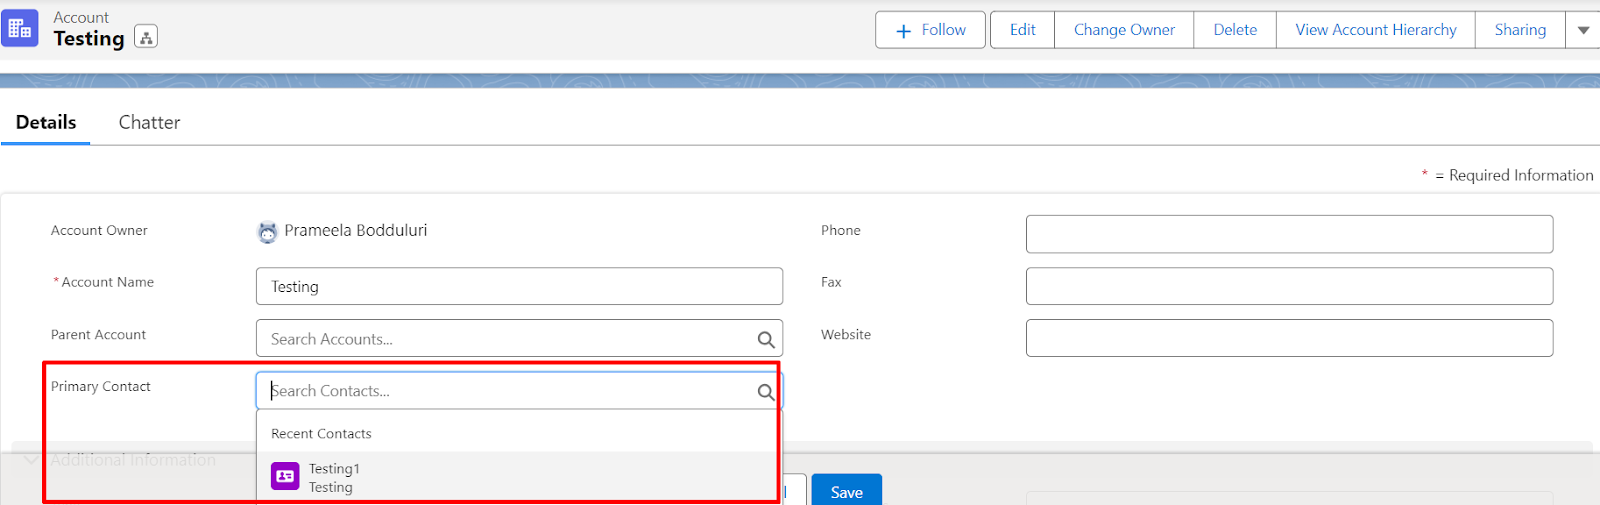
This new field will be added to the Page Layout in the details section.
Users can select the primary contact in the account details page as shown in the screenshot below.
STEPS TO ACHIEVE THE SECOND REQUIREMENT
- “Primary Contact” Checkbox field in the Contact object
- Create Custom Notification Type
- Create a record triggered flow to update the Primary Contact field for non primary contacts and the Primary Contact in Account object.
- Add “Primary Contact” Checkbox field in the Contact object
-
- Go to Setup, then click Object Manager | Contact.
- In the sidebar, Click Field & Relationships.
- Click New.
- Select Checkbox as the Data Type.

- Click Next.
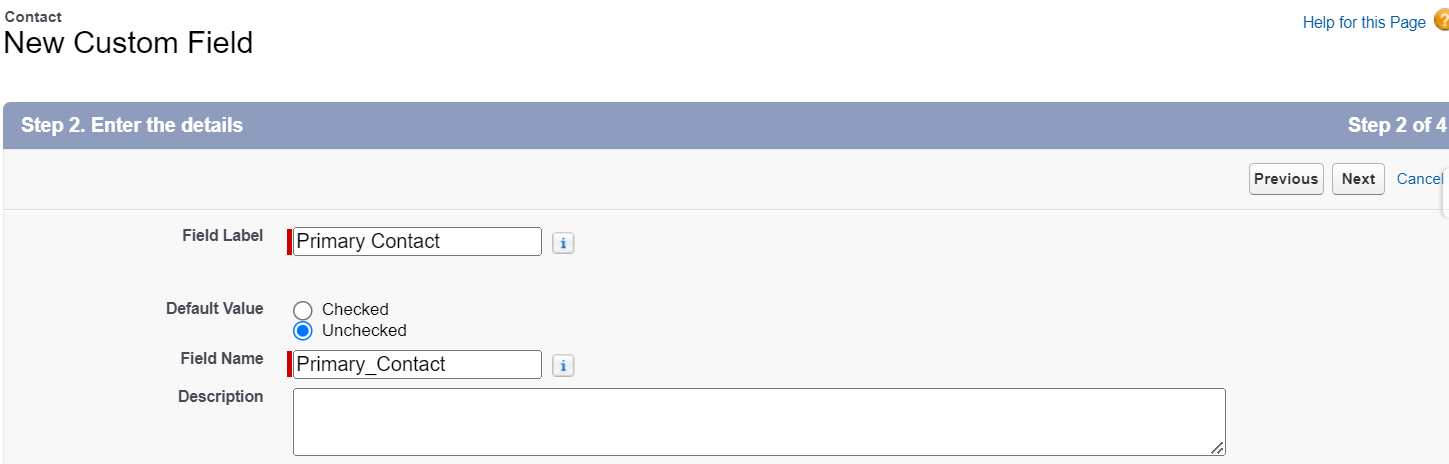
- Click Next.
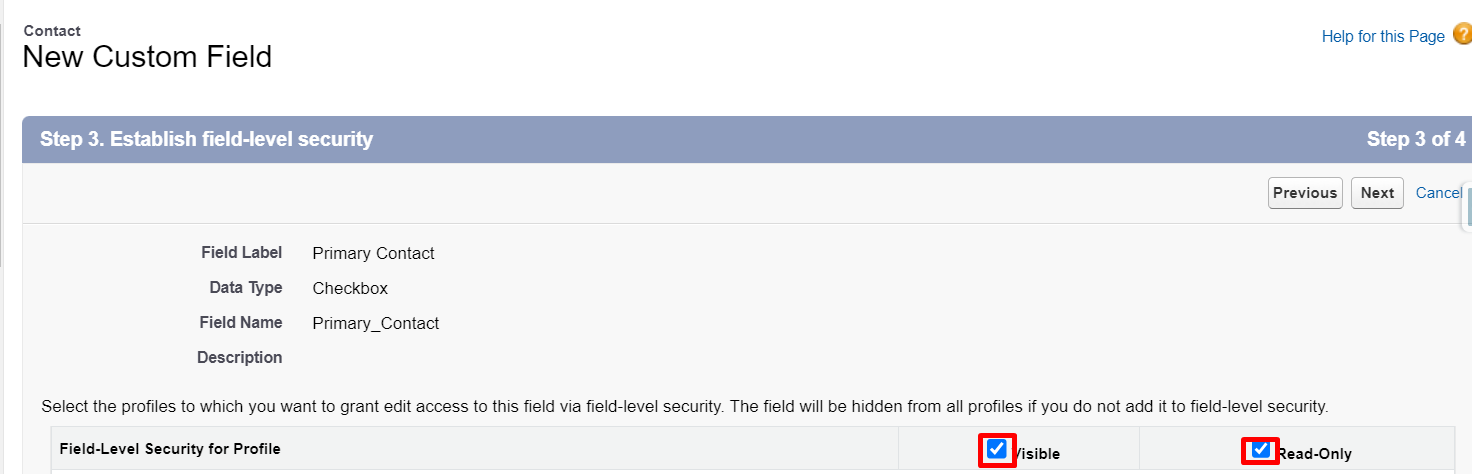
- Click Next & Save.
- Create Custom Notification Type
-
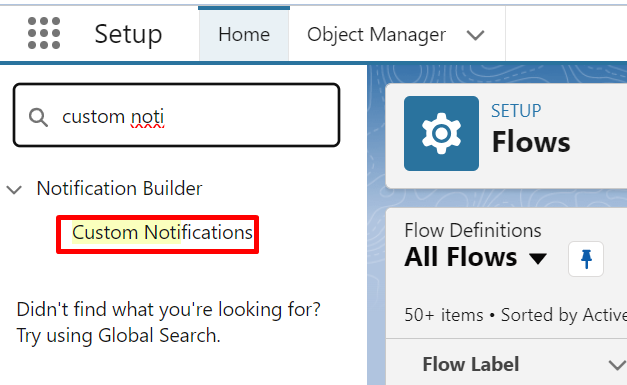
- Goto Setup, In quick find box type Custom Notifications, then select Custom Notifications.
- Click New

- Enter Custom Notification Name, API Name is automatically populated.
- Supported Channels select only Desktop.
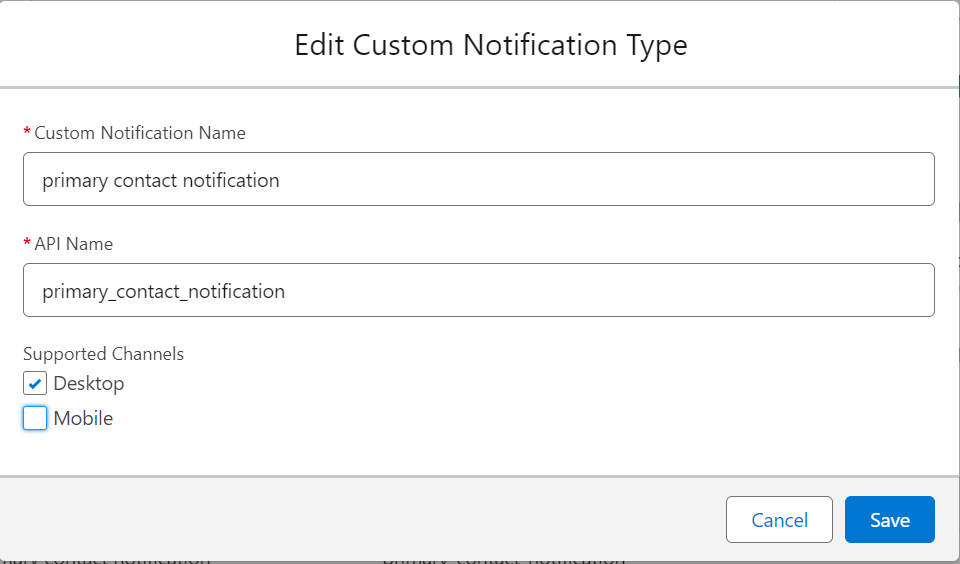
- Click Save.
-
Create a record triggered flow
- To create Record Triggered Flow, Go to Set up –> Search Flow Click on New Flow.

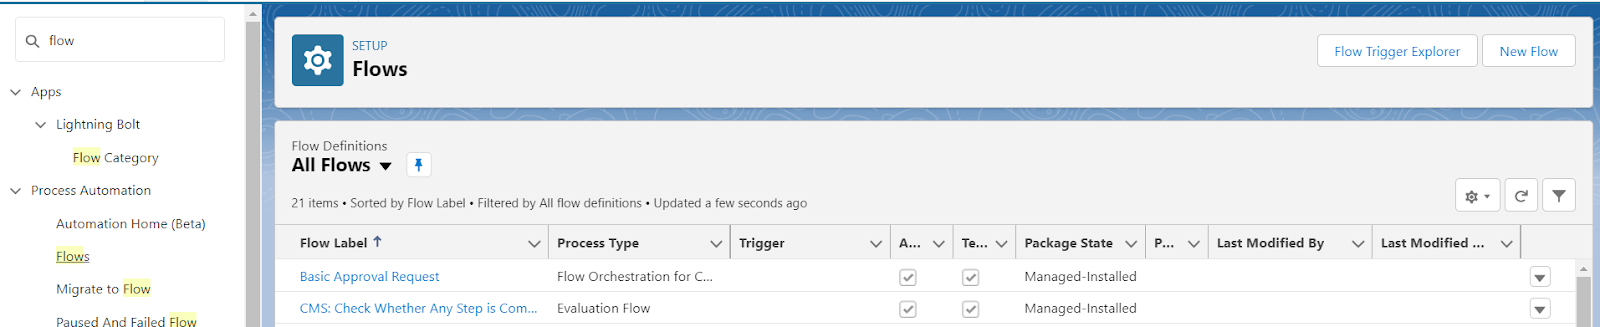
- Select Record Triggered flow → Click Create.
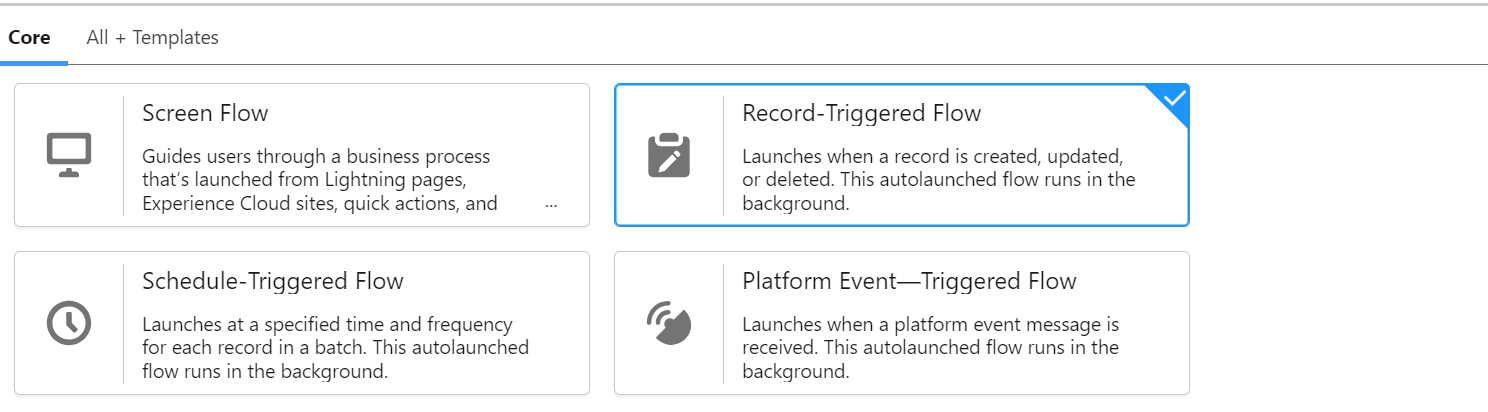
By default the layout is set to Auto Layout.
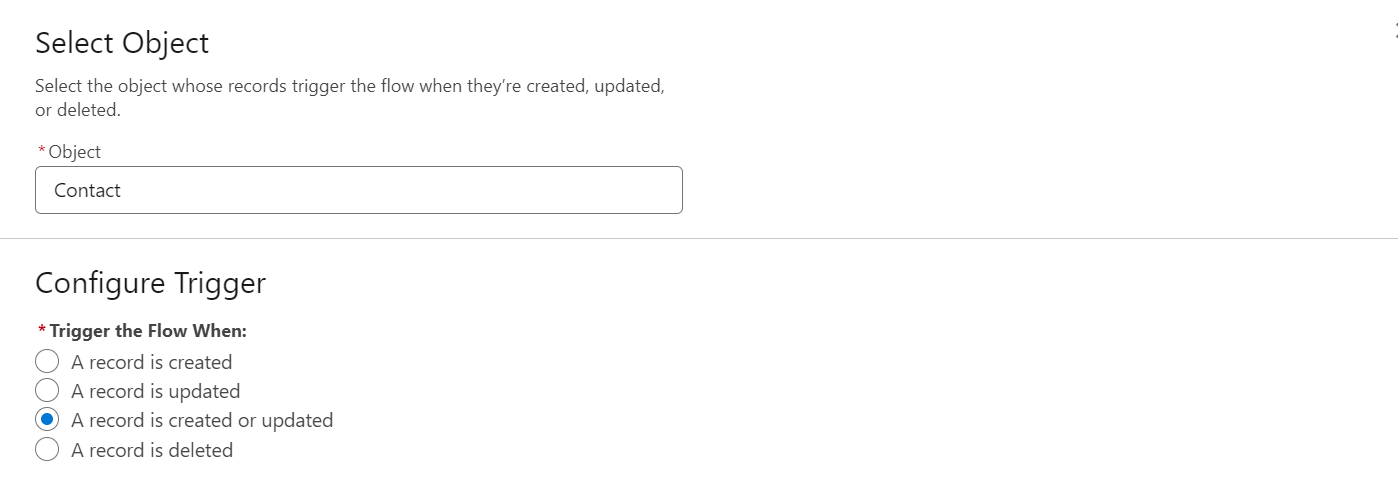
- Select Object as Contact
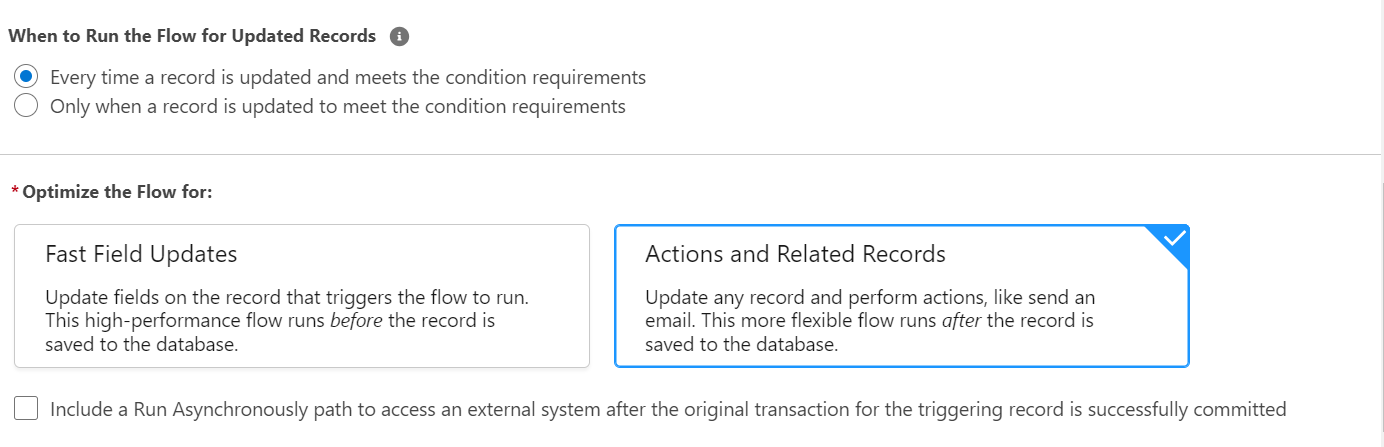
Choose “A record is Created or Updated” option for “Configure Trigger”.
Optimize the flow for → Select Actions and Related Records.
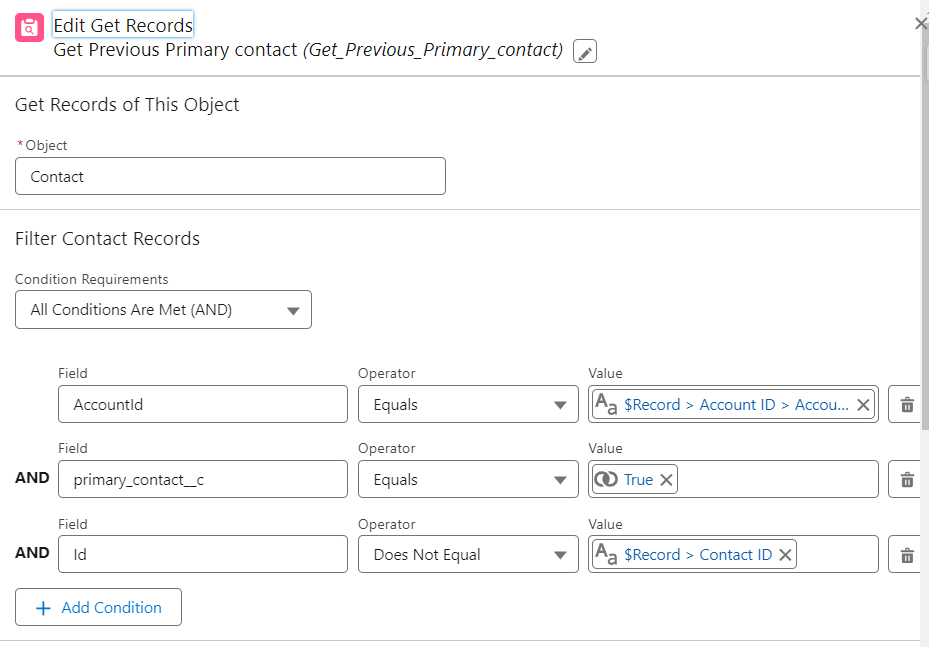
- Next step is to Get the Previous Primary Contact using Get Records Element
-
- Select (+) icon → Select Get Records Element.
- Choose Contact Object
- Select All Conditions are Met(AND) as a condition requirement
- Set the following conditions as mentioned in the screenshot below.
Account Id → Equals → Record Account Id → Account Id
Primary Contact → Equals → True
Id → Does not equal → Record Contact Id
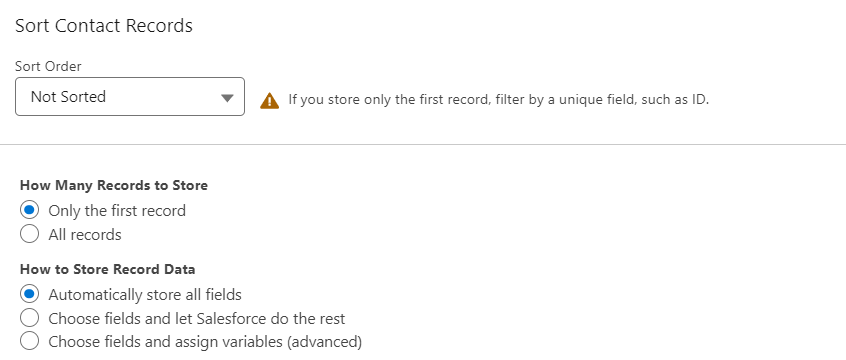
- Under How many records to store select Only the first record.
- Under How to store Record Data select Automatically store all fields
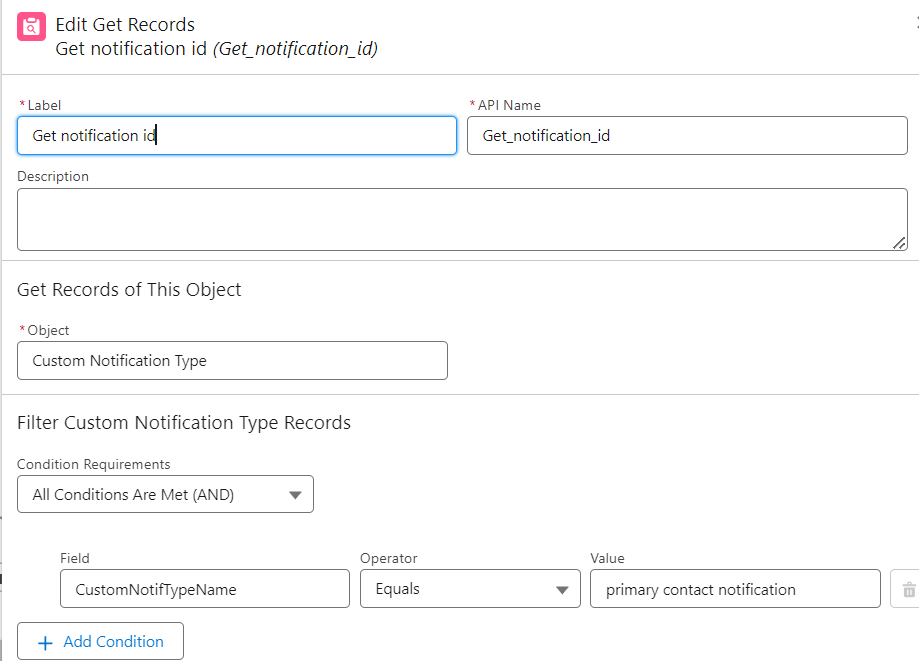
- Create another Get Records Element to get the Notification Id of the previously created Custom Notification Type to send notification.
-
- Select (+) icon → Select Get Records Element.
- Choose Custom Notification Type Object
- Select All Conditions are Met(AND) as a condition requirement
- Set the following conditions as mentioned in the screenshot below.
Custom Notification Type → Equals → primary contact notification
- Under How many records to store select Only the first record.
- Under How to store Record Data select Automatically store all fields.
- Next step is to check whether the current contact is about to set as primary contact. Two paths get executed based on the value.
-
- Select (+) icon → Select Decision Element
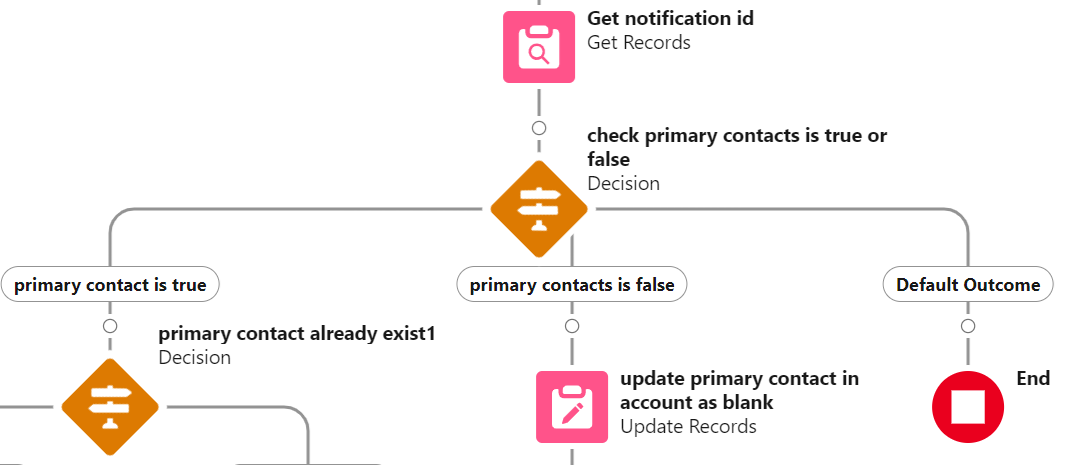
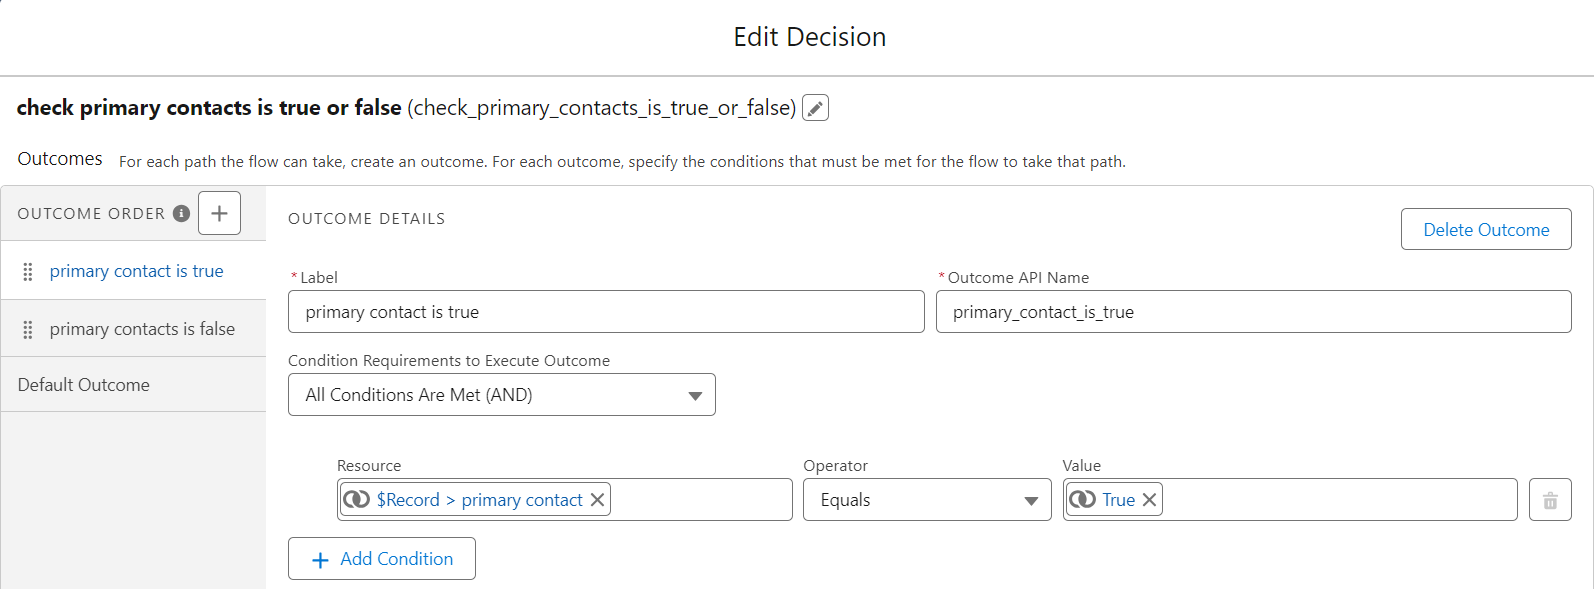
- Set the First outcome as Primary Contact - Equals - True (flow takes the first path, if the current contact is set as Primary Contact).
$Record > Primary Contacts → Equals → True
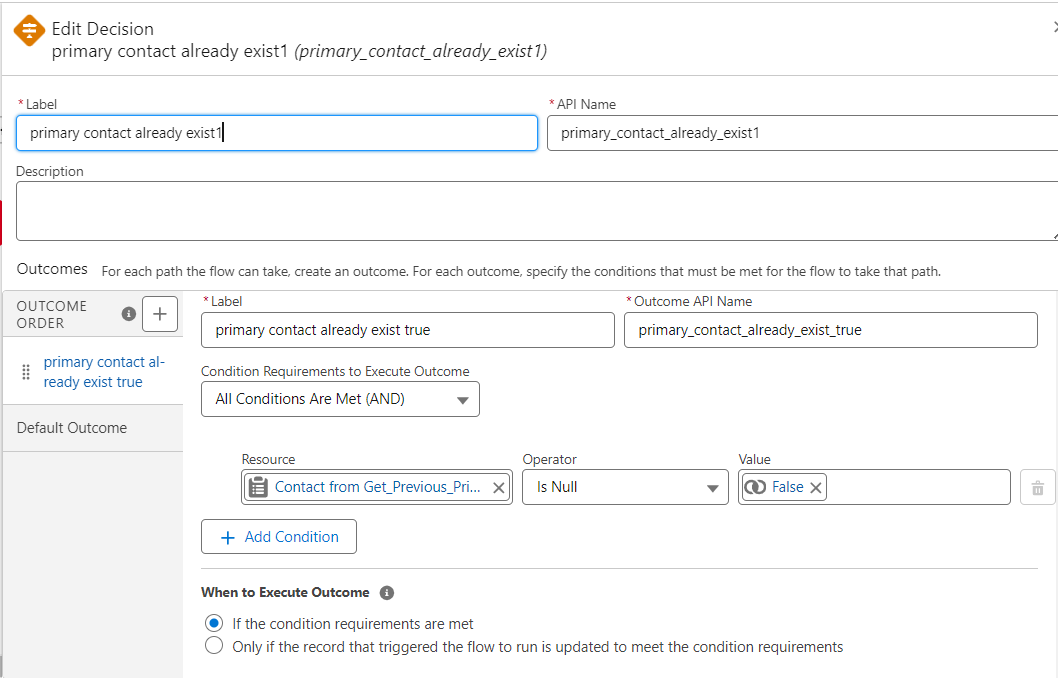
- Next step is to check whether any of the existing contacts is set as primary.
Select (+) icon → Select Decision Element
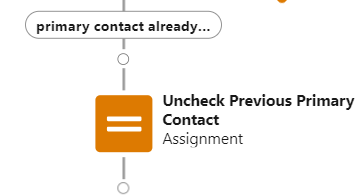
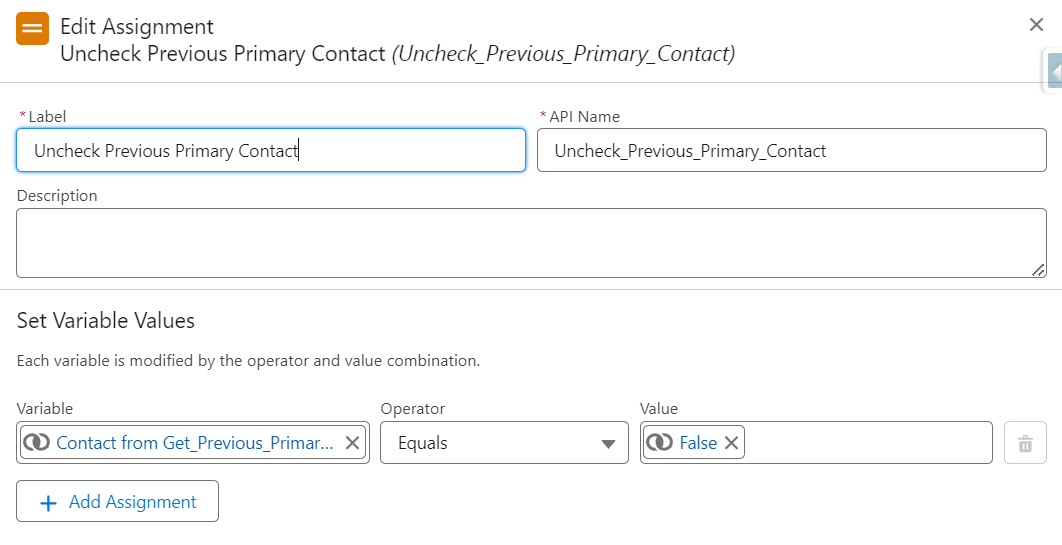
- Next step is to add an Assignment Element to uncheck all previous Primary Contacts.
\ Select (+) icon → Select Assignment Element
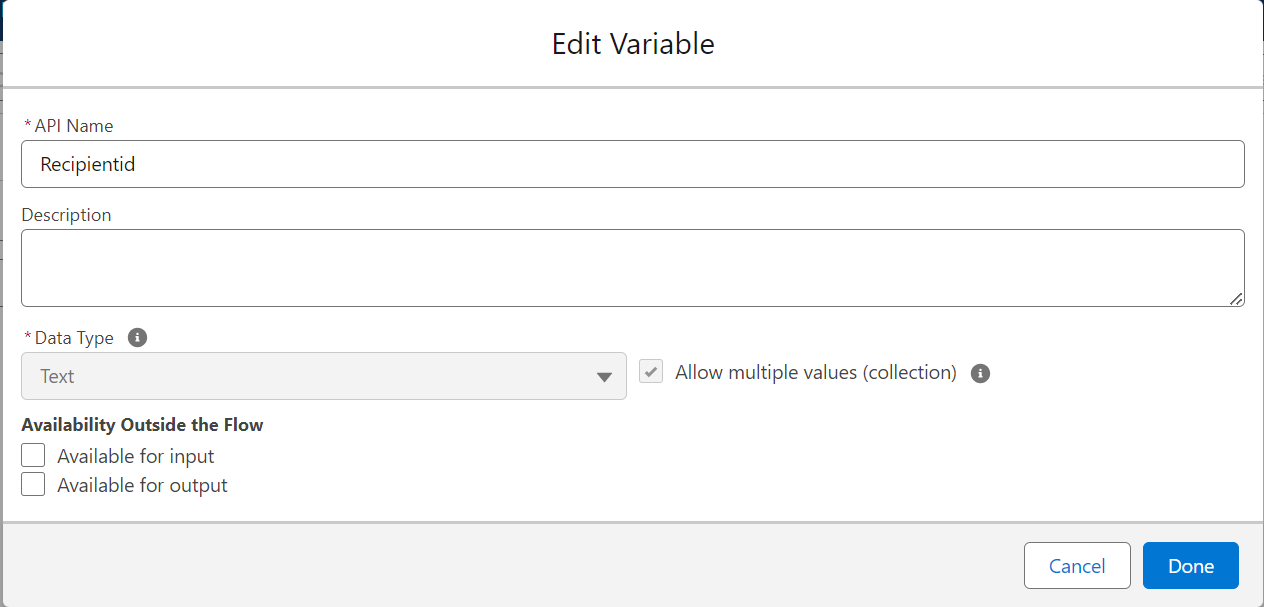
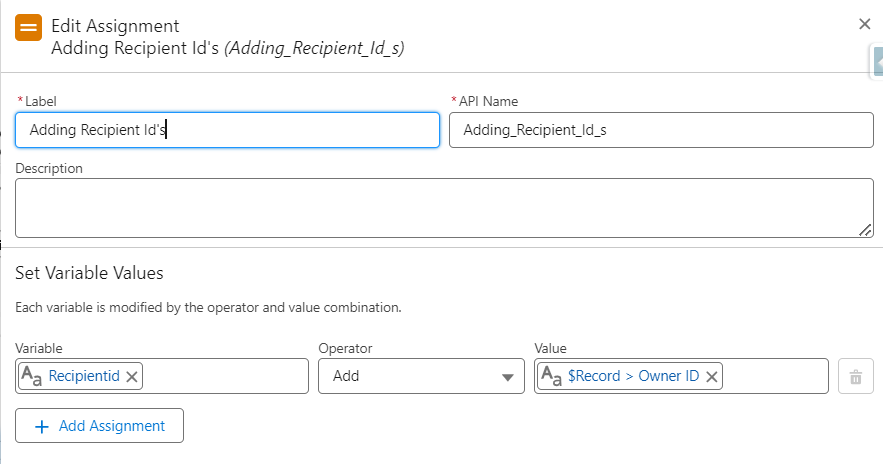
- Create a Variable to hold recipient Id
Data Type - Text
Object- Recipientid
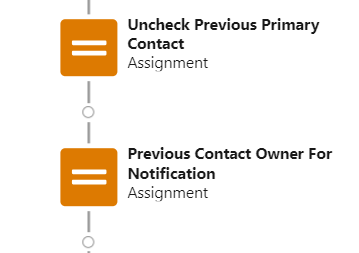
- Select (+) icon → Add one more Assignment Element to add all modified contacts to a collection
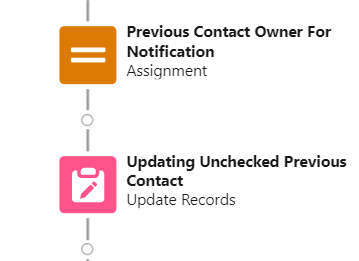
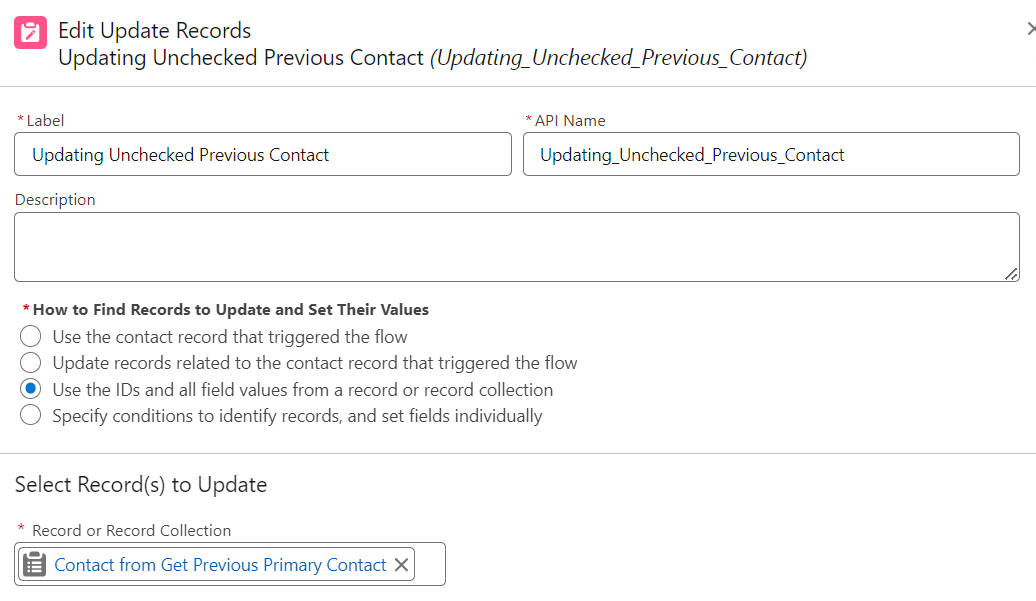
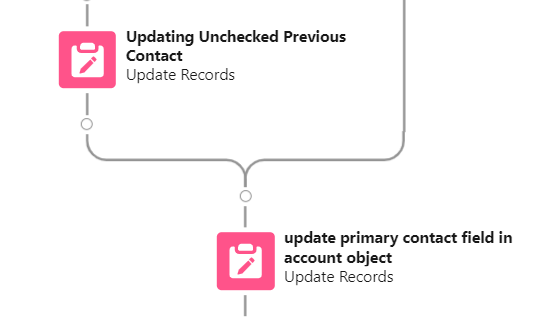
- Update Unchecked Previous Contacts
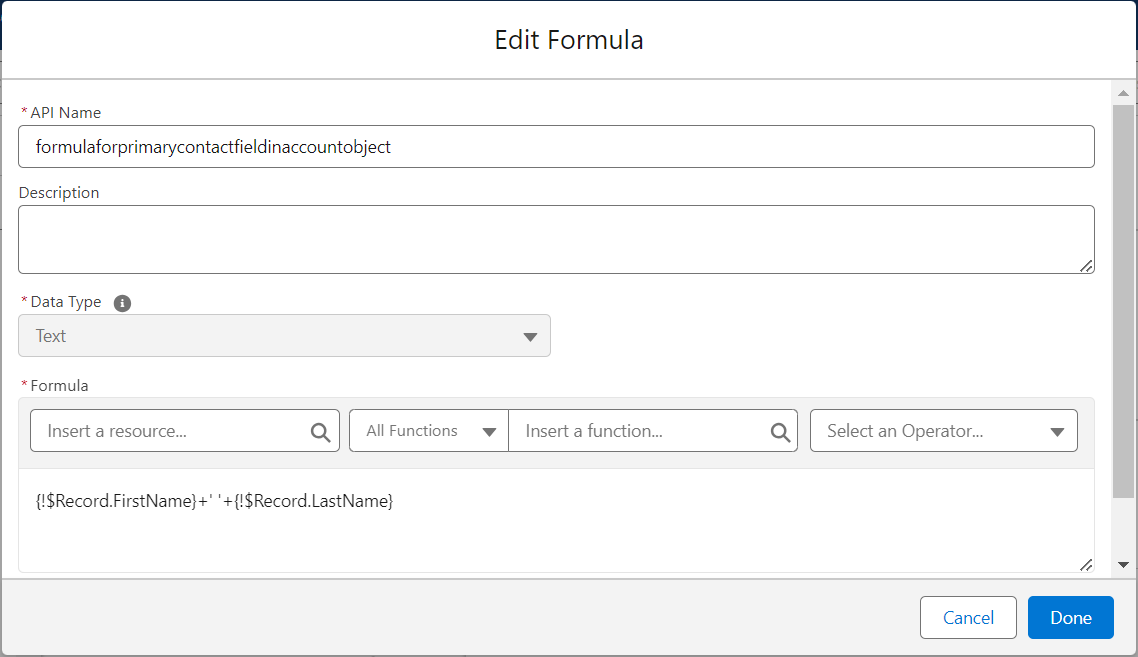
- Create a Formula Resource to capture the Primary Contact Name which is to be updated on Account Object.
Data Type - Text
API Name : formula for primary contact field in account object
Formula : {!$Record.FirstName}+' '+{!$Record.LastName}
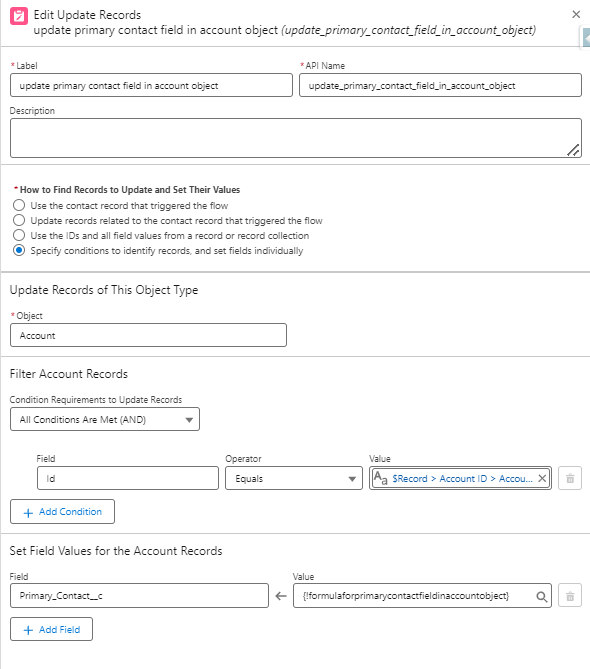
- Here Updating the Primary Contact field in Account object.
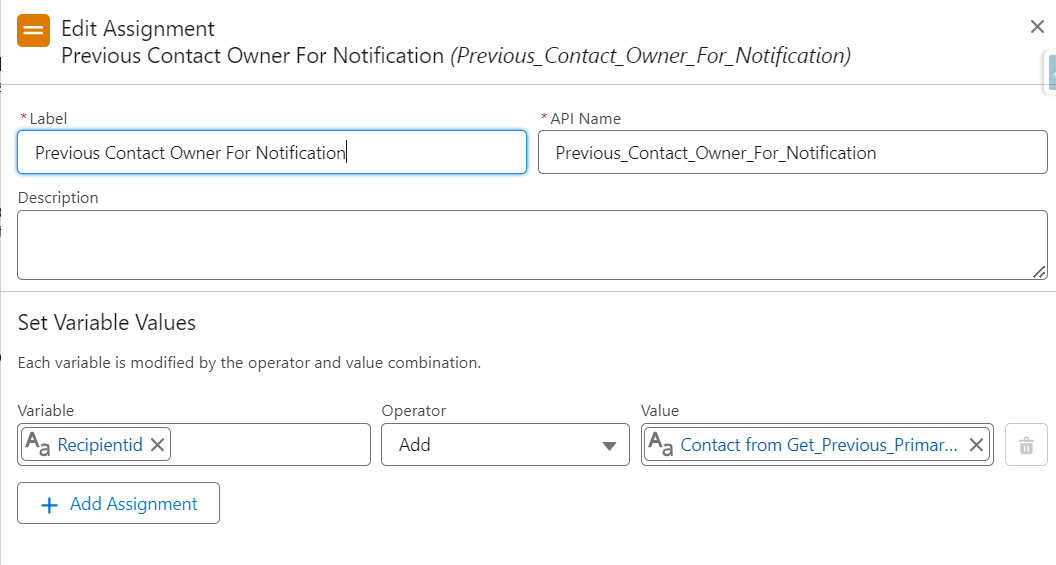
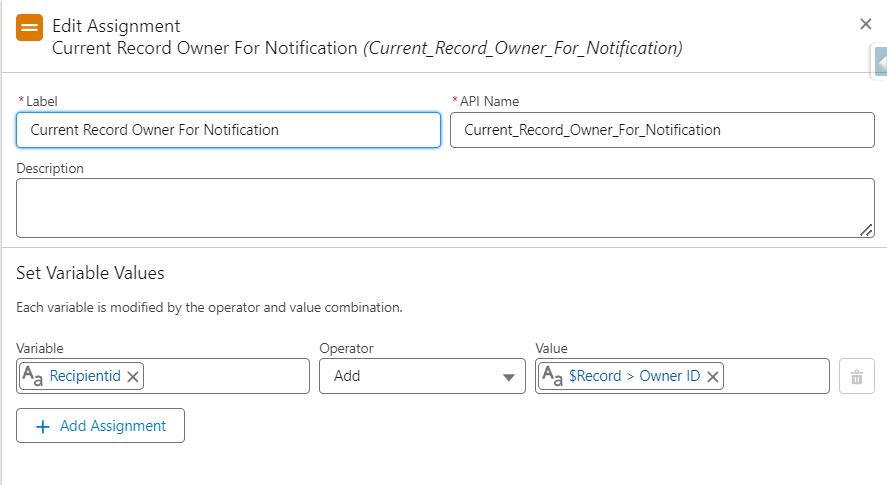
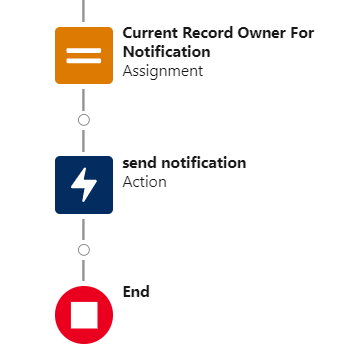
- Select (+) icon → Select Assignment Element to collect the Owner Ids of Current Primary Contacts.(This will be used to send Notifications)
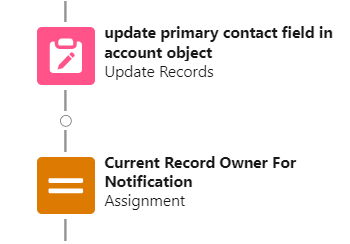
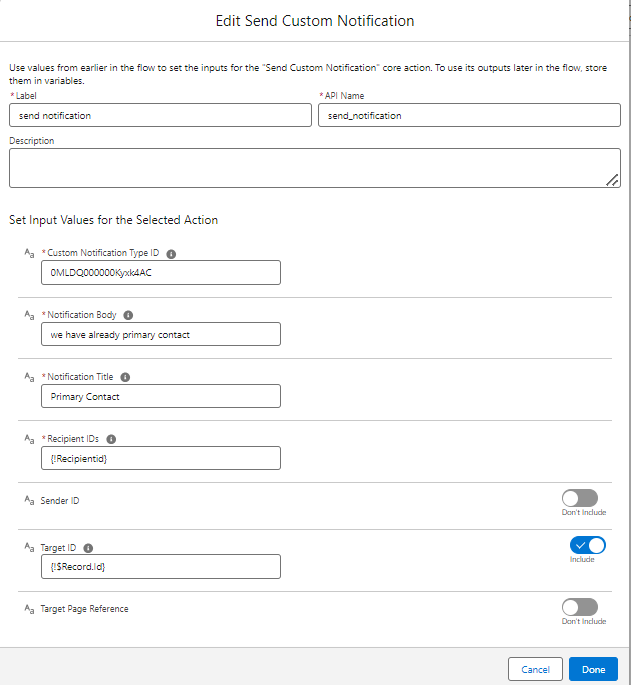
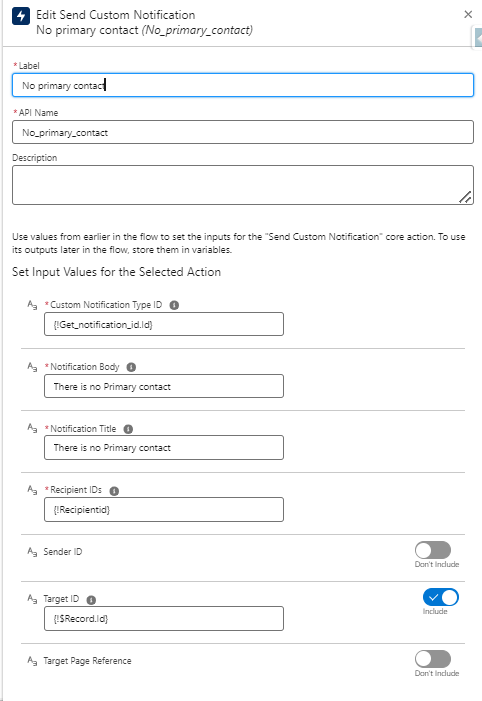
- Select (+) icon → Select Send Custom Notification Element to send the notification
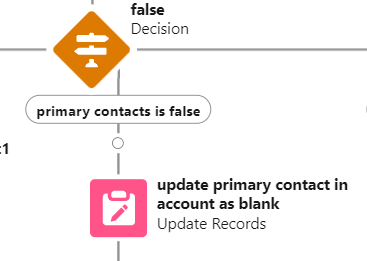
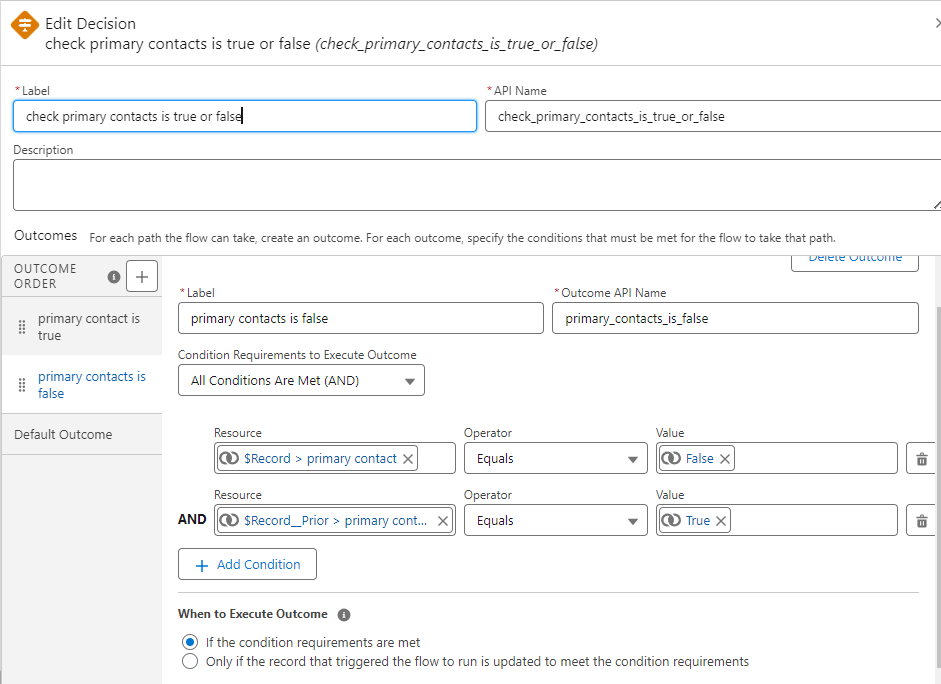
- If the Primary Contact is False the flow will take the second path.
$Record > Primary Contacts → Equals → False
$Record_Prior > Primary Contacts → Equals → True
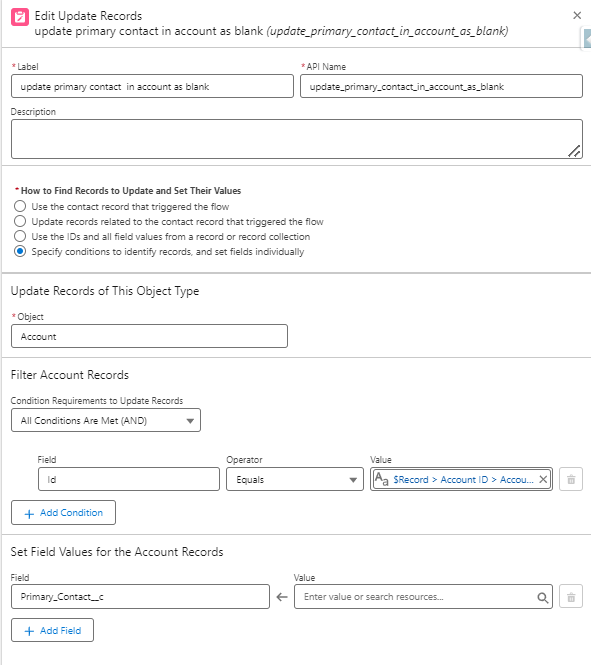
- Select (+) icon → Select Update Record Element to remove the Primary Contact Name on Account Object
- Select (+) icon → Select Assignment Element
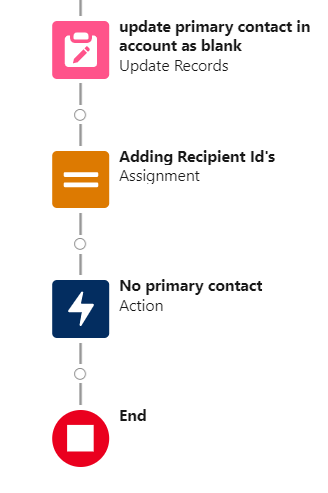
- Select (+) icon → Select Send Custom Notification Element to send the notification
Leave a Comment